How to Build a Easy Wooden Gate
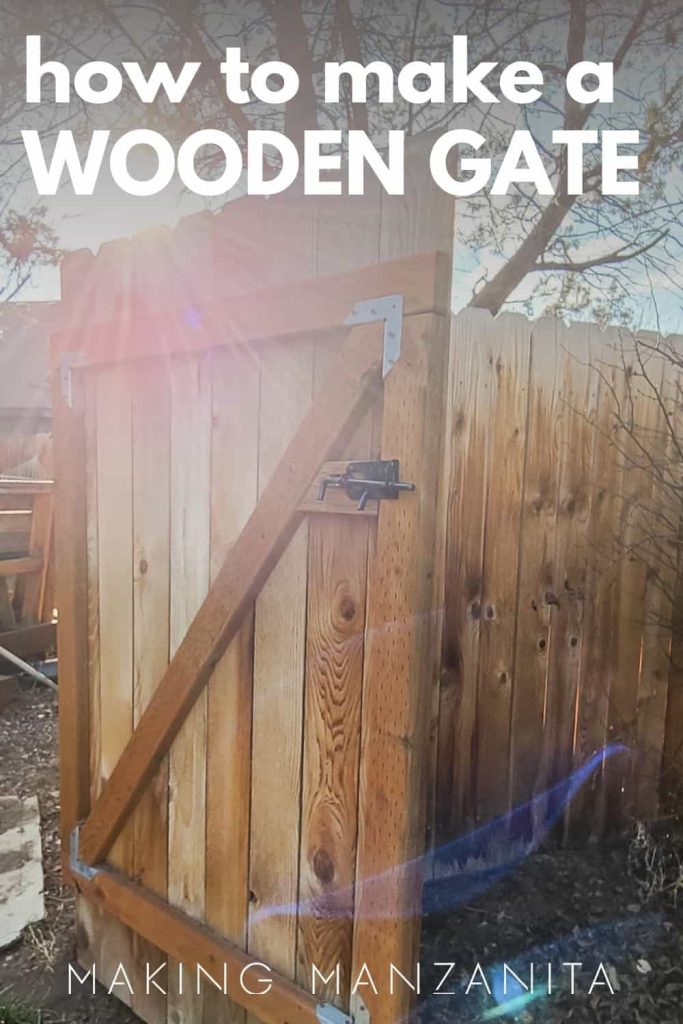
If you're building a fence, you're probably going to want to incorporate a simple wooden gate. This article will break down the whole process for how to build a wooden gate and includes a step by step video.
If you're going through the process of adding a fence to your home, you will probably need to also make a wooden gate. Adding a gate to your fence is important to provide easy access from your front and back yards without needing to go through a garage or house.
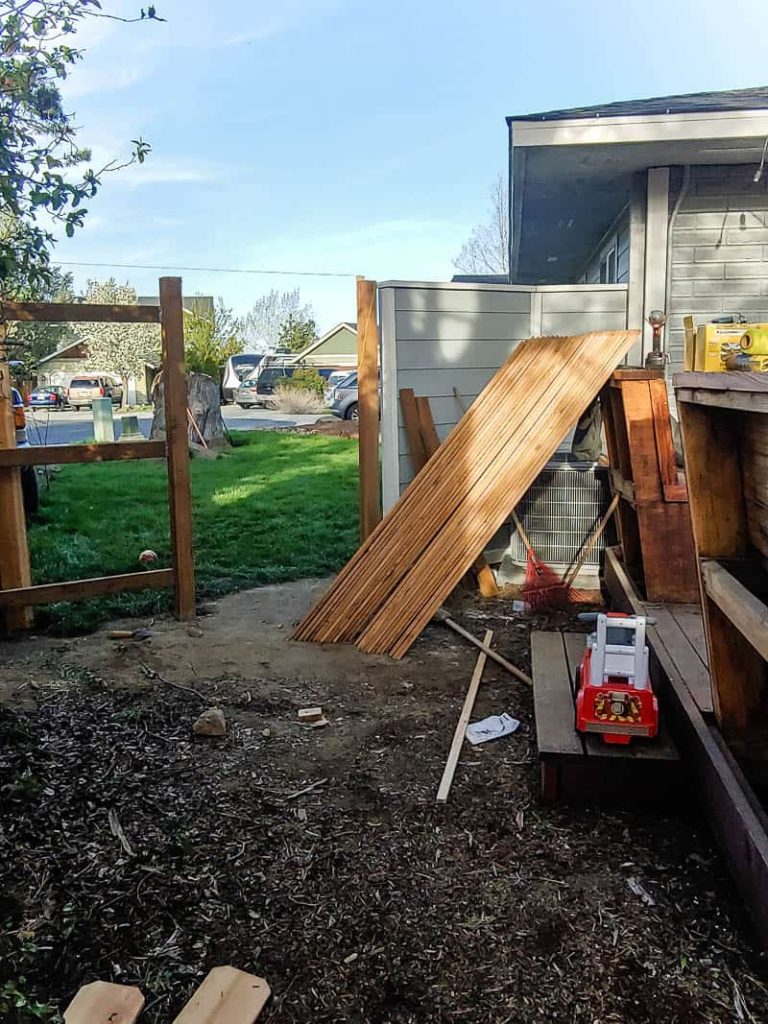
At our house in the backyard, we needed to make a wooden gate on the side of our house to get easily access to front yard from the back (and visa versa). We also use this gate to get the lawn mower from the backyard shed to the front yard grass to mow.
We recently shared the whole process of how to build a wooden fence with a video and blog post tutorial, so you should definitely check that article out if you're building a fence too.
However, we decided to separate out the tutorial for how to make a wooden gate because the process is so different. It deserved its own post, don't you think?
How To Make A Wooden Gate Video Tutorial
If you love DIY videos, be sure to subscribe to our YouTube channel here.
This how to build a wooden gate tutorial contains affiliate links, but nothing that I wouldn't recommend wholeheartedly. Read my full disclosure here.
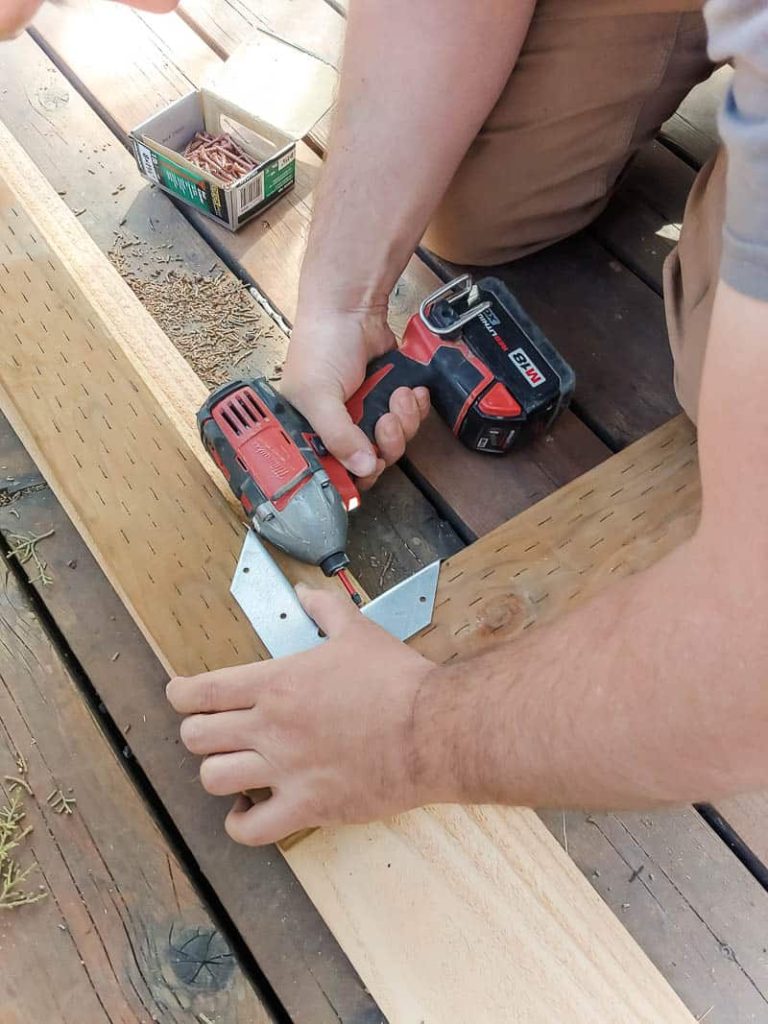
Step 1. Build frame for wooden gate.
Build a rectangle frame with 2×4 pressure treated boards & corner brackets. Be sure to use deck screws which are made for outdoor use.
Step 2. Add a diagonal 2×4 in the middle for some extra stability.
Simply lay the 2×4 on top of the rectangle, mark where you need it cut and cut using a circular saw. Attach the diagonal piece with more deck screws drilled diagonally into the brace.
Step 3. Add hinges.
The diagonal cross brace should be "in compression" which means that it needs to go from the bottom hinge to the top corner of the other side.
Wood is much stronger in compression rather than tension, so this will help prevent the gate from sagging later.
Add one cedar fence picket to the edge of the gate frame that will be on the hinge side and attach your gate hinge on top and bottom.
Be sure to drill pilot holes first and then use the screw provided with your gate hinge.
Step 4. Hang gate and attach.
Have one person hold the gate up and into place (while make sure it is level), while the other person attached the other side of the gate hinges onto the gate.
Step 5. Add pickets.
Add the rest of the fence pickets to cover the gate.
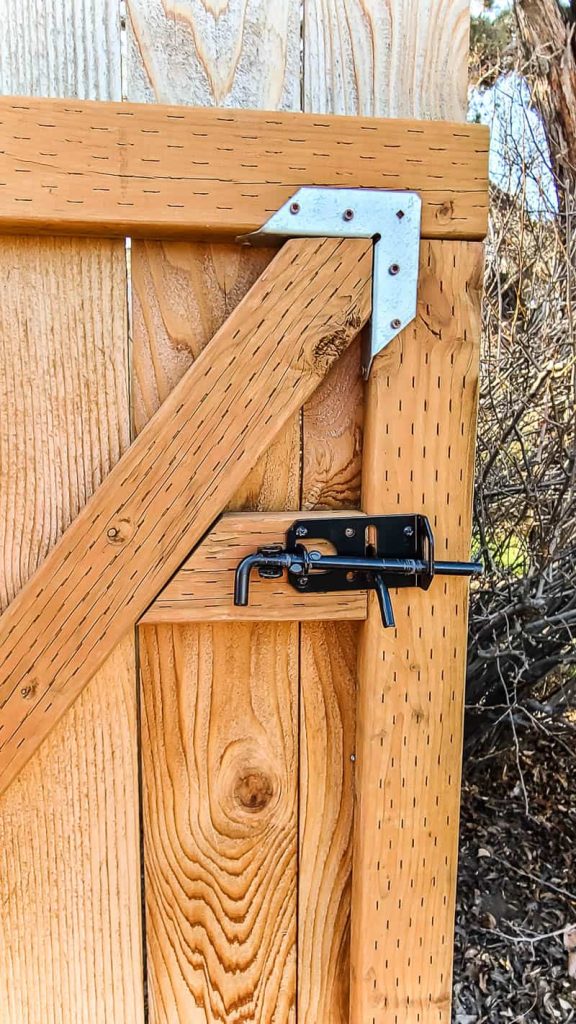
Step 6. Add handle & latch.
Add a gate handle to the opposite side.
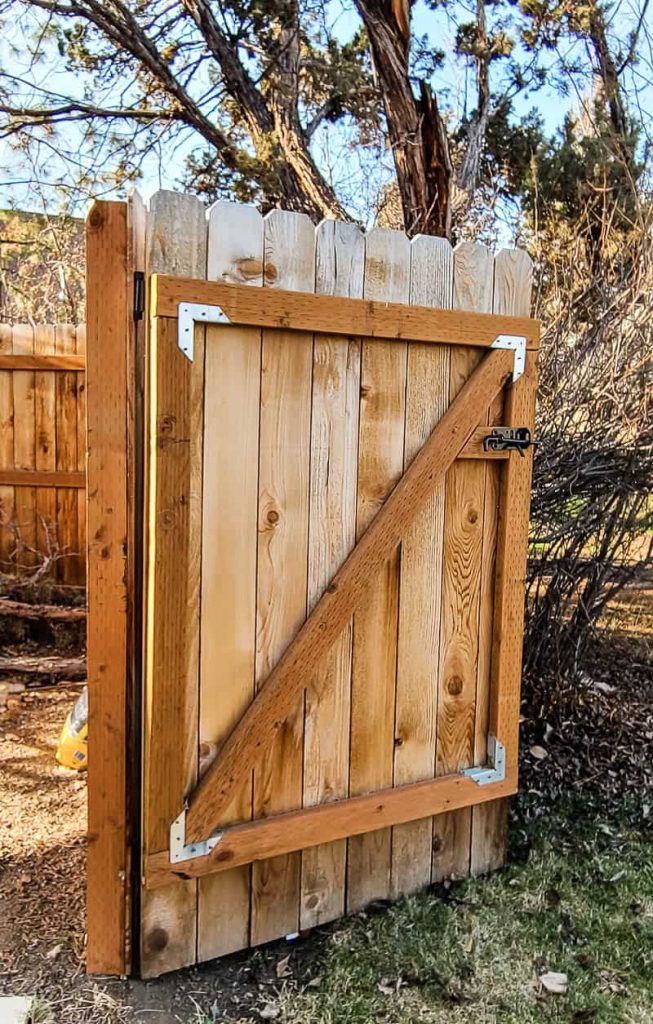
The wooden gate turned out awesome and works great for our purposes. It blends right in with the rest of our fence and was very easy to build.
Do you have any questions about this how to build a wooden gate tutorial?
Let us know in the comments below!
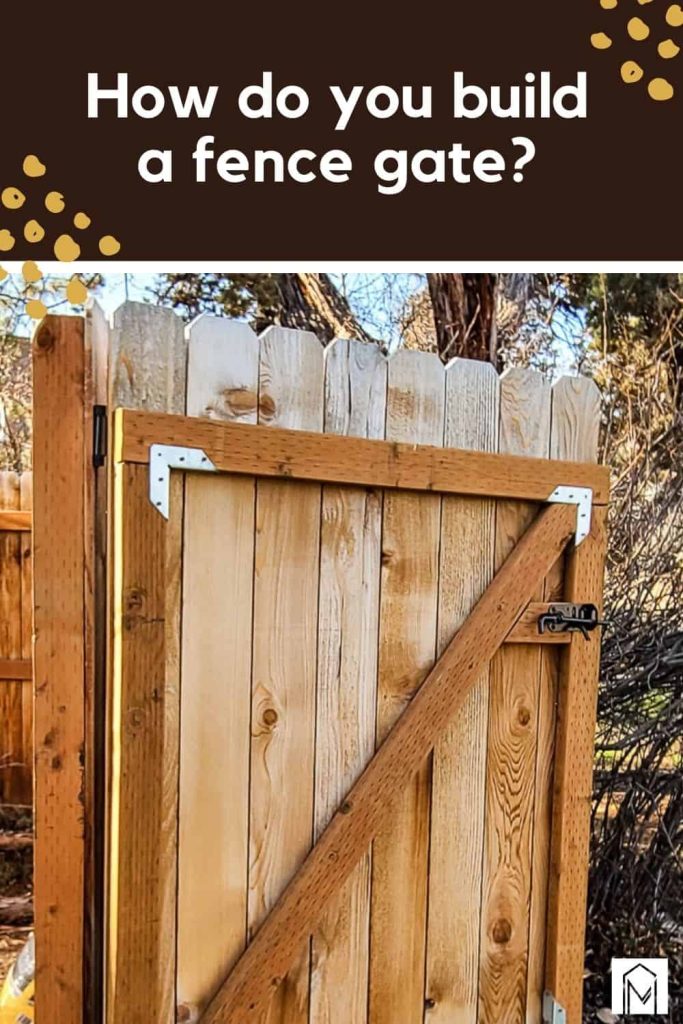
Materials
- Cedar fence pickets
- Pressure treated 2x4s
- Screws
- Gate hinge (Qty 2)
- Corner bracket (Qty 4)
- Gate late and handle
Tools
- Square
- Tape measure
- Circular saw
- Drill
Instructions
- Build rectangular frame for wooden gate with 2x4s and corner brackets.
- Add diagonal 2x4 in the middle for extra stability.
- Add one fence picket to the edge of the gate frame and attach your gate hinges on top and bottom.
- Hang gate. Have one person hold into place (and make sure it's level) while the other person attached the other side of the gate hinges onto the gate
- Add fence pickets.
- Add handle & latch to the opposite side of gate.
Notes
The diagonal cross brace should be "in compression" which means that it needs to go from the bottom hinge to the top corner of the other side. Wood is much stronger in compression rather than tension, so this will help prevent the gate from sagging later.
Source: https://www.makingmanzanita.com/how-to-make-a-wooden-gate/
0 Response to "How to Build a Easy Wooden Gate"
Enregistrer un commentaire